Apple-Stuffed Pork Tenderloin

Do you need a fancy-looking meal to impress some dinner guests? This tasty meal from Simple & Delicious was so easy to make for how nicely it turned out. It also made great leftovers since the stuffing kept the meat nice and moist. And since it’s all fresh ingredients it needs no allergy changes, except for the cornstarch.

Start by chopping an apple and some onion.
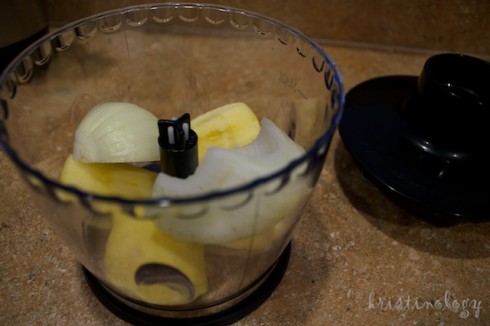
Apple and onion

By the way this was one of my Christmas presents. It’s an immersion blender that can also attach to become a food processor. Sure makes chopping quicker!
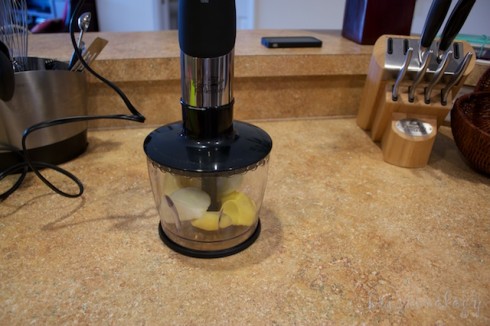
New blender

Anyway, next saute apple and onion in oil until tender. Add the garlic, salt, and pepper; cook another minute or so and remove from heat.

Saute

Make a lengthwise slit down the center of the tenderloin and spread apple mixture over the meat. Close tenderloins, tie with string, and secure the ends with toothpicks. I didn’t have string so I just used several toothpicks, which worked just fine. Bake, uncovered, at 425 for 15 minutes.
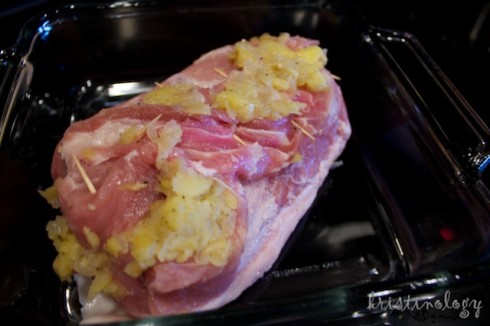
Stuffed

Meanwhile, combine the juices and mustard in a saucepan and bring to a boil. Combine cornstarch (or arrowroot) and water until smooth and gradually stir into juice mixture. Bring to a boil, cook and stir until thickened. Stir in parsley.
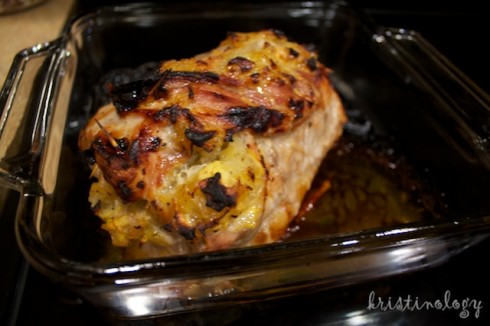
Cooked

Pour 3/4 cup of sauce over tenderloin and continue to bake until meat reaches 160. Let stand before slicing. Serve with remaining sauce.
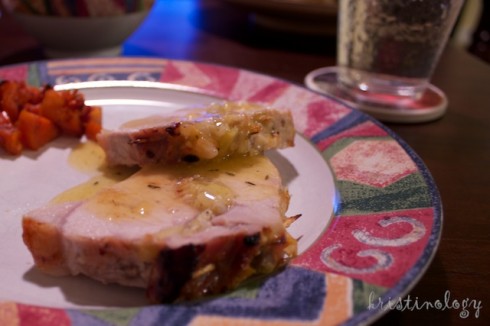
Served

Recipe:
1 medium apple, peeled and chopped
1 small onion, chopped
1 tbsp. olive oil
1 garlic clove, minced
1/2 tsp. salt
1/2 tsp. pepper
2 pork tenderloins (I made one)

Sauce:
1 cup unsweetened apple juice
1 cup pomegranate juice
1 tbsp. dijon mustard
2 tbsp. cornstarch
2 tbsp. cold water
1 tbsp. minced parsley

Enjoy!

Enjoy Life Foods: Chewy Bars

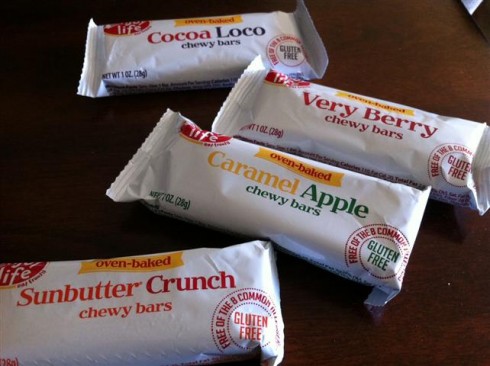
I just love Enjoy Life Foods! As you can probably imagine, I was more than happy to sample their newly reformulated chewy bars. Enjoy Life Foods kindly sent me a box of each of their four tasty flavors of chewy bars. Before now I had only ever tried the very berry flavor, so I was eager to give the others a try.

Enjoy Life boxes

I wasn’t too surprised that I enjoyed each flavor since I enjoy all of their other products. I was a little surprised at how small of a portion they are… however, they are more filling than they look like they will be and did leave me feeling satisfied. I think the very berry is still my favorite, but it sure wouldn’t be too hard to talk me into having another one of the chocolate flavor.

Chewy bars

The thing about having food allergies is that there really isn’t such thing as convenience foods anymore. We never stop and pick up take-out on the way home like we used to, and most of my snacks consist of cutting up fruits and veggies. This isn’t so bad on days when I’m mostly at home, but it’s not so easy to manage when we’re on the go. Now I can have a quick and easy snack again. I stick one of these in my purse when I’m heading out to the store or pack one with my lunch when we’re going somewhere for the day. I could even see grabbing one for breakfast on a busy morning.

As always, I know I can trust this brand to be food allergy safe for me. All of their products are made in a dedicated gluten-free and nut-free facility and are always free from the eight most common allergens. If you haven’t tasted Enjoy Life Foods‘ chewy bars yet, give them a try! Let me know which one you like the best.

Allergy Free Holiday Recipes: Cabbage Rolls

Cabbage rolls is another favorite recipe that I have grown up having. It’s typically a part of our Christmas Eve and/or New Year’s Day meals. The original recipe came from Canadian Living magazine, but as you will see we didn’t follow the recipe too closely. The best part is that these can be made ahead of time to avoid having to cook everything on the actual holiday. We made these up yesterday to put in the freezer until we are ready to bake them fresh for Christmas Eve.

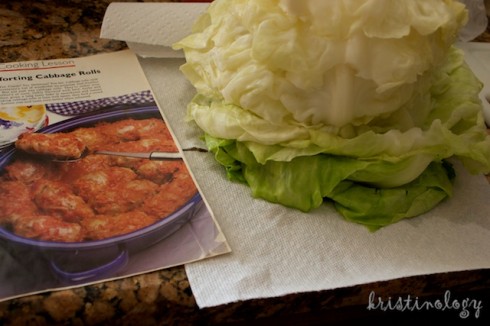
Start by boiling a head of cabbage just long enough until the leaves tear off without breaking too much. We took the first half of the leaves off and had to boil a little longer to get the inside leaves off.

Cabbage

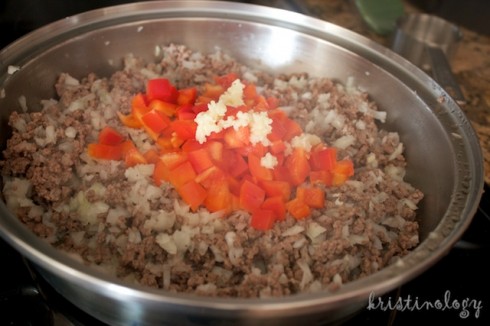
Once beef is cooked add chopped onions, red pepper, garlic and spices. Keep the mixture over medium heat until veggies are soft.

Peppers and onions

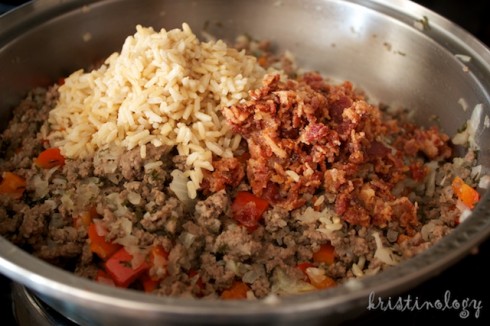
Then mix in cooked rice and cooked, chopped bacon. You could really add whatever you like to make the rolls to your taste.

Bacon and rice

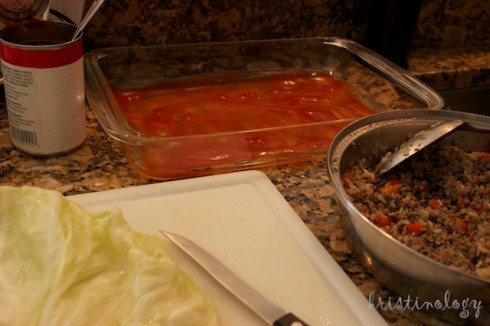
Spread a little tomato sauce on the bottom of your baking dish to keep the rolls from sticking.

Sauce in pan

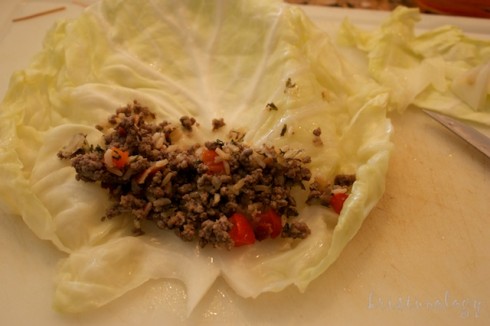
Place a spoonful of your meat mixture near the bottom of the cabbage leaf. Roll leaf, tucking in the sides and compacting filling as much as possible as you roll. I cut out the thickest, stem part of the leaf to make these easier to roll up.

Fill cabbage

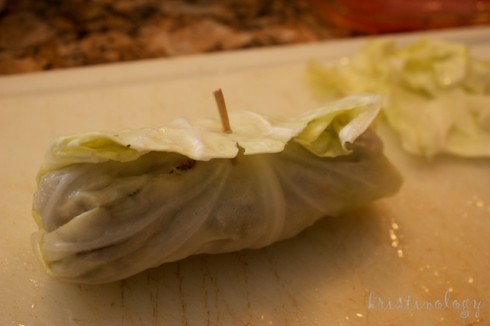
Secure each roll with a toothpick at the end of the leaf.

Secure with toothpick

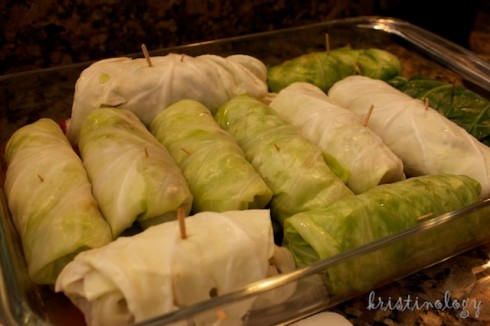
Place all your rolls snugly in your baking dish.

Filled pan

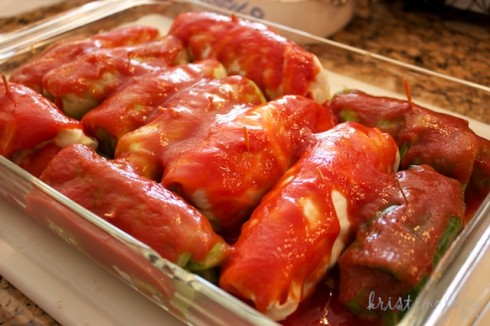
Cover rolls generously with the remaining tomato sauce. This keeps them from drying out during baking and makes them look prettier too.

Covered with sauce

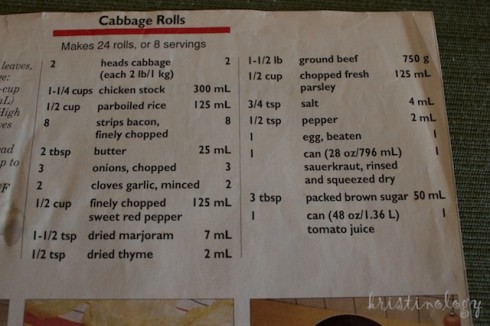
Bake, covered at 350 for about an hour. If freezing first, allow to thaw in fridge before baking. Here’s the recipe we loosely followed, feel free to adapt it however like.

Recipe

Enjoy!