Allergy Free Holiday Recipes: Cabbage Rolls

Cabbage rolls is another favorite recipe that I have grown up having. It’s typically a part of our Christmas Eve and/or New Year’s Day meals. The original recipe came from Canadian Living magazine, but as you will see we didn’t follow the recipe too closely. The best part is that these can be made ahead of time to avoid having to cook everything on the actual holiday. We made these up yesterday to put in the freezer until we are ready to bake them fresh for Christmas Eve.

Start by boiling a head of cabbage just long enough until the leaves tear off without breaking too much. We took the first half of the leaves off and had to boil a little longer to get the inside leaves off.
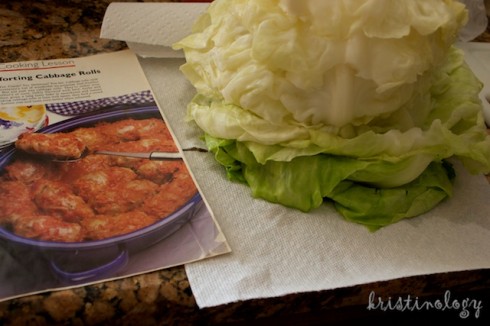
Cabbage

Once beef is cooked add chopped onions, red pepper, garlic and spices. Keep the mixture over medium heat until veggies are soft.
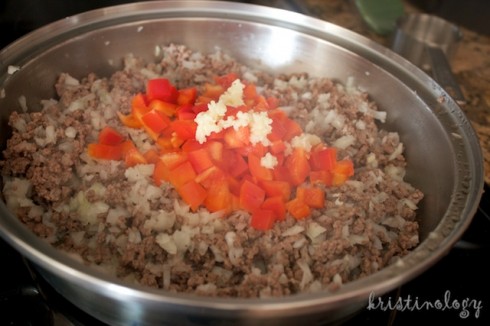
Peppers and onions

Then mix in cooked rice and cooked, chopped bacon. You could really add whatever you like to make the rolls to your taste.
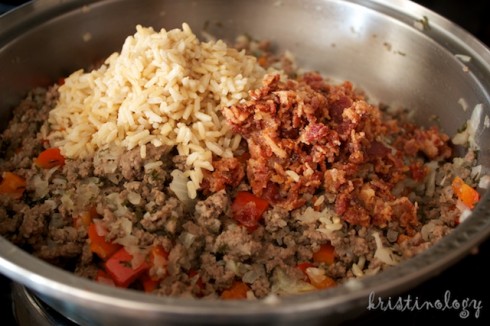
Bacon and rice

Spread a little tomato sauce on the bottom of your baking dish to keep the rolls from sticking.
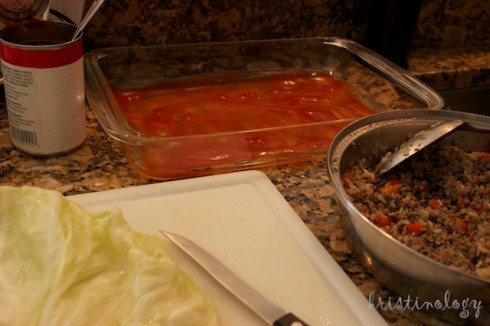
Sauce in pan

Place a spoonful of your meat mixture near the bottom of the cabbage leaf. Roll leaf, tucking in the sides and compacting filling as much as possible as you roll. I cut out the thickest, stem part of the leaf to make these easier to roll up.
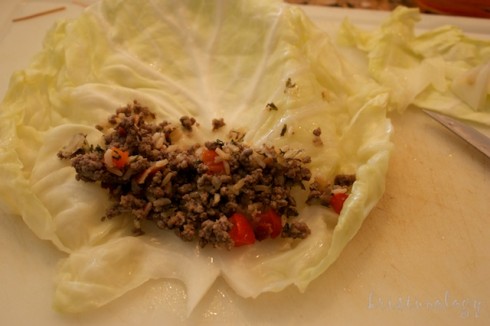
Fill cabbage

Secure each roll with a toothpick at the end of the leaf.
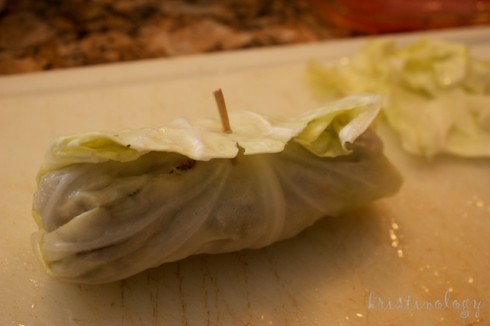
Secure with toothpick

Place all your rolls snugly in your baking dish.
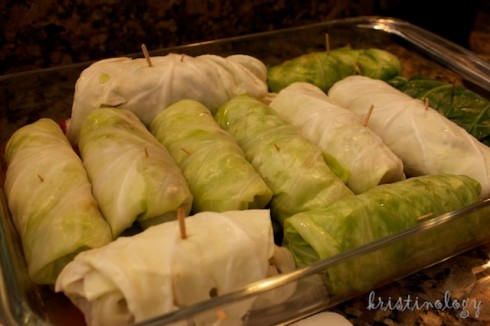
Filled pan

Cover rolls generously with the remaining tomato sauce. This keeps them from drying out during baking and makes them look prettier too.
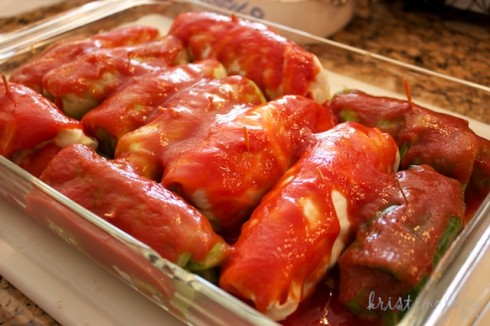
Covered with sauce

Bake, covered at 350 for about an hour. If freezing first, allow to thaw in fridge before baking. Here’s the recipe we loosely followed, feel free to adapt it however like.
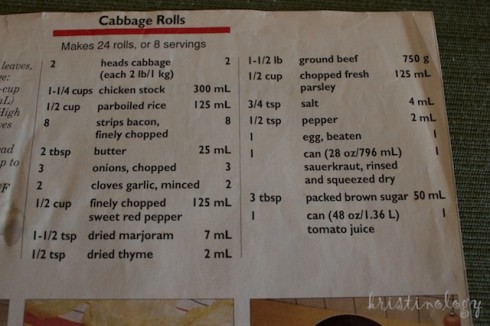
Recipe

Enjoy!

Allergy Free Holiday Recipes: Stuffing

If I had to choose one holiday dish as my favorite, I think I would pick stuffing. It’s always been one of the best parts of the holiday meal. Of course, it’s all bread… meaning it was no longer on my list of foods I could enjoy. Then I came across a recipe for allergy-free and gluten-free stuffing on Enjoy Life Foods’ recipe page. I couldn’t wait to try it out at our Thanksgiving dinner.

It was pretty simple to make and overall a very tasty dish. However, even though it tasted really good, it didn’t really compare to real stuffing. I still think it would be worth making again when I want stuffing, I just have to think of it as its own side dish instead of a stuffing replacement. I did like how my dinner plate looked like a whole Thanksgiving dinner instead of having to skip out on all the items containing my allergens. This stuffing was just what I needed to complete my meal.

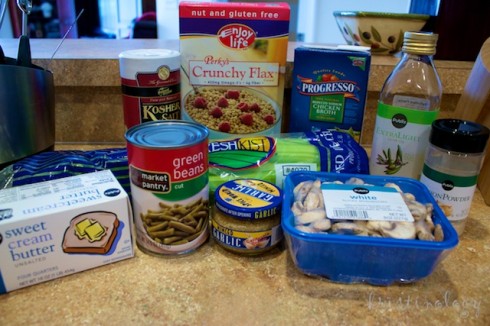
Ingredients

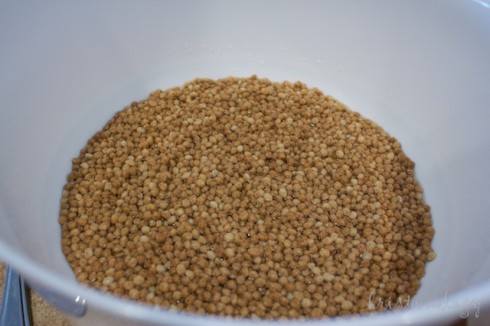
I started my soaking the flax cereal in warm chicken broth. After about fifteen minutes it had puffed up from all of the moisture.

Soaking cereal

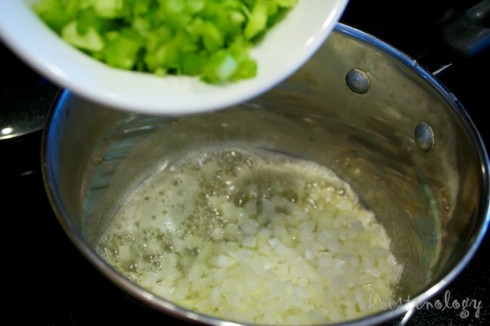
After melting butter over medium heat, I sauteed onions and celery together until they were translucent.

Cooking onions

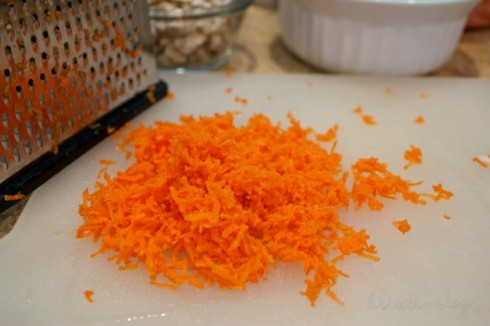
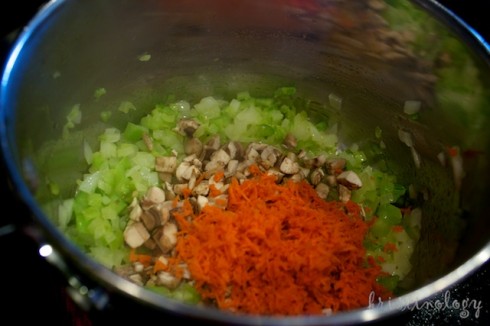
Then I added my grated carrots and chopped mushrooms.

Grated carrotsAdding veggies

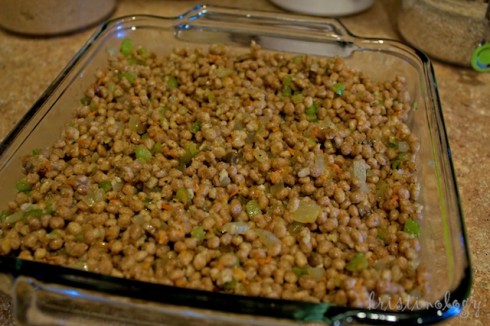
After all the veggies were nicely cooked I added them along with my spices to the soaked cereal, and mixed well. Then I transferred the mixture to a casserole dish for baking.

Ready to bake

Note… I used a lot more spices than this recipe called for as I thought it might be a little plain. I think it definitely needed it. My mix was the mix my mom would use on her normal stuffing and included poultry seasoning, thyme, sage, garlic pepper, salt… I’m not even sure what else she mixed up for me.

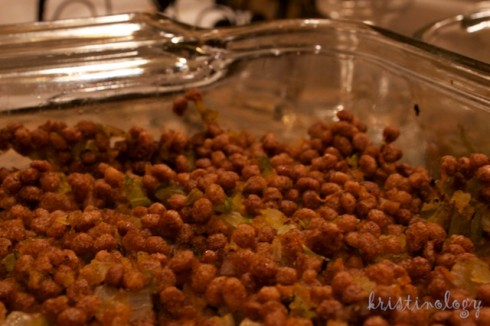
My family enjoyed this dish… let me know what you think of it.

Finished stuffing

Enjoy!

Allergy Free Holiday Recipes: Homemade Cranberry Sauce

I’ve never been a big fan of the canned cranberry sauce. It just doesn’t look too appetizing. It doesn’t seem natural to eat something that maintains the shape of the can once you take it out. Not to mention that it’s full of corn syrup, which I can’t have. Why not make your own cranberry sauce?

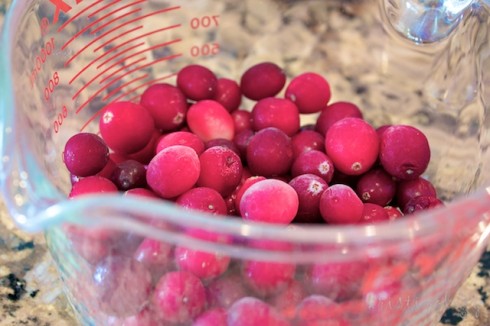
Start with a package of cranberries and follow the simple directions on the package. Measure out the amount of cranberries you want to make. We made about half of the package.

Cranberries

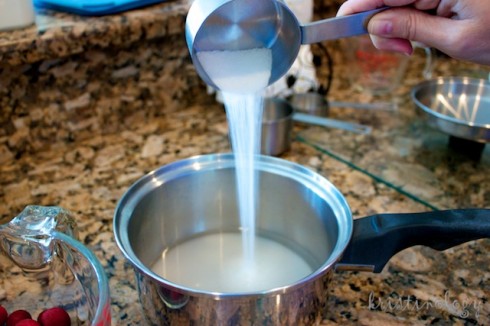
Mix water and sugar together and heat on the stove.

Measuring sugar

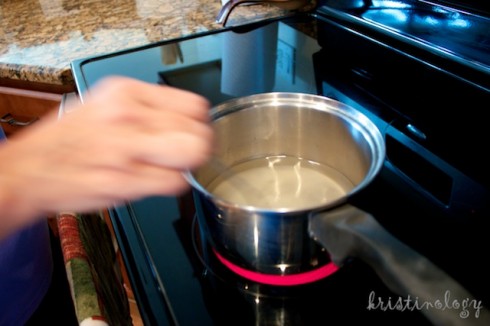
Bring water to a boil and stir until all the sugar has dissolved.

Dissolve sugar

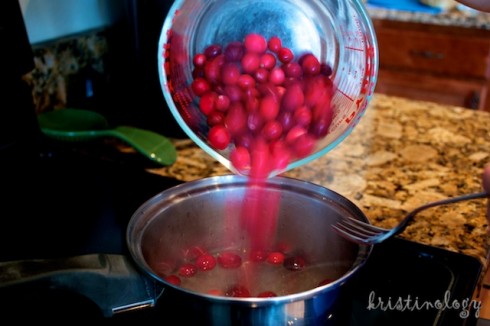
Add cranberries and stir until it is boiling once again.

Add cranberries

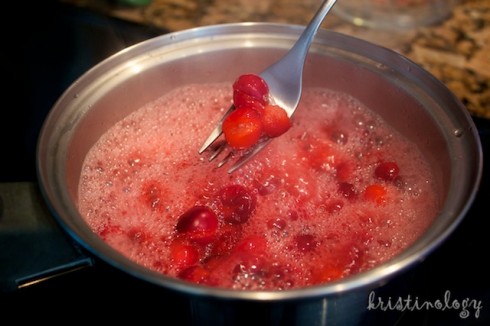
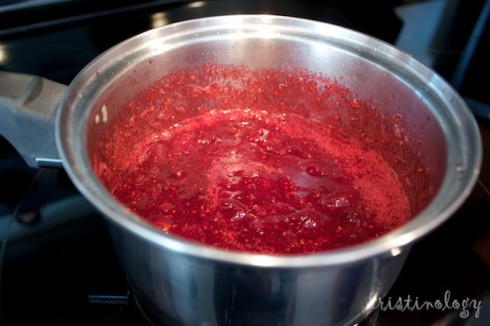
Remove from heat when the cranberry juice is turning the water red and the berries are bursting open.

Boil cranberries

The sauce may still seem watery, but it will thicken as it cools.

Finished sauce

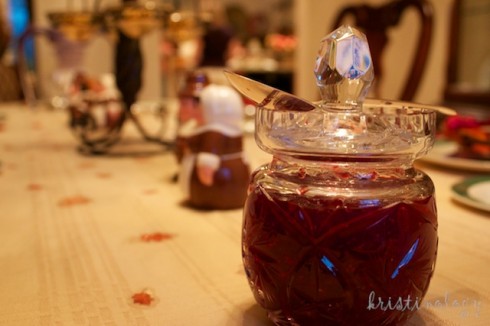
Once cool, transfer to a serving dish… and you’re done. It’s that simple!

Cranberry sauce

Enjoy!