Cauliflower Pizza Crust

You may have seen my previous link to this cauliflower pizza crust in the past. If you haven’t yet, you must try this. It’s so easy, so yummy, and amazingly bread-like. You wont believe it’s not bread!

We loved this recipe the very first time I made it. However, after some testing I believe it’s now even better. I didn’t change too much from the original, mostly just doubled the recipe to make enough to feed my pizza-loving husband. It’s Jesse approved for sure!

Start by roughly chopping an entire head of cauliflower. I used a little bit of the stems, but mostly just the florets.
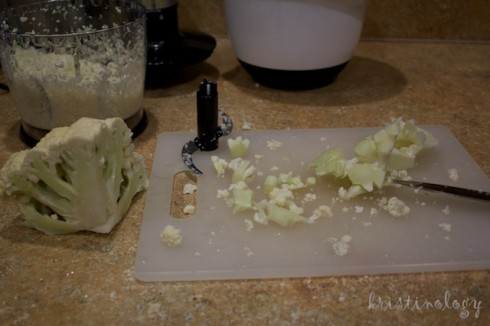
Chopped cauliflower

Toss the cauliflower pieces into a food processor and pulse until it looks like grain. I have to do mine in about three batches because the whole head of cauliflower doesn’t fit all at once. Cover and cook cauliflower (without adding extra water) in the microwave for 6 to 8 minutes, until tender.
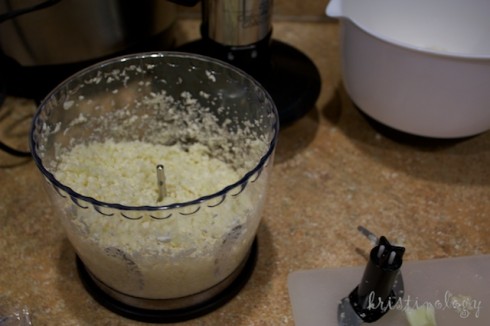
Riced cauliflower

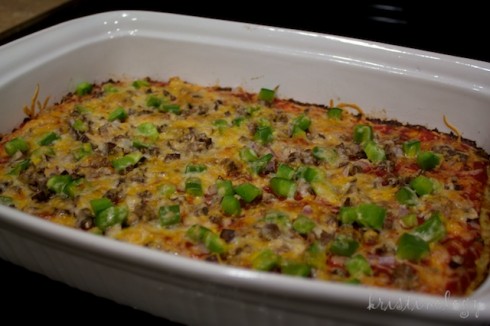
Then mix cooked the cauliflower with two beaten eggs, two cups of shredded mozzarella cheese, and spices. Then the cauliflower “dough” is ready to be transferred to a greased cookie sheet. Note: Some of the pictures show a casserole dish, but I’ve since discovered that a cookie sheet makes a crispier crust.
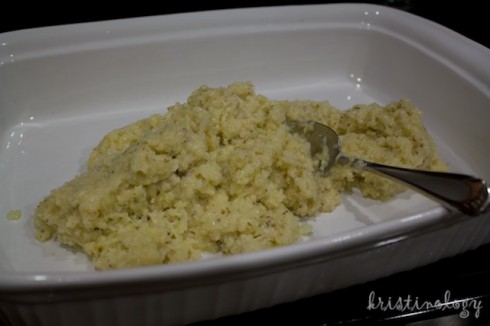
Cauliflower dough

Spread the cauliflower mixture evenly and bake at 450 for 15 minutes.
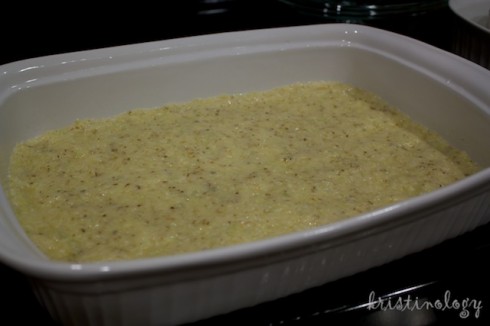
Ready to bake

After the crust is baked, you can add any toppings you choose.
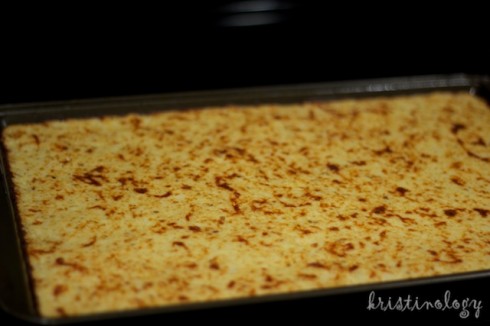
Revised baking

Our favorite combination has been Muir Glen pizza sauce, ground beef (cooked), red onion, mushrooms, and green pepper. I’ve found it’s best to have the toppings prepared as my first step in the recipe.
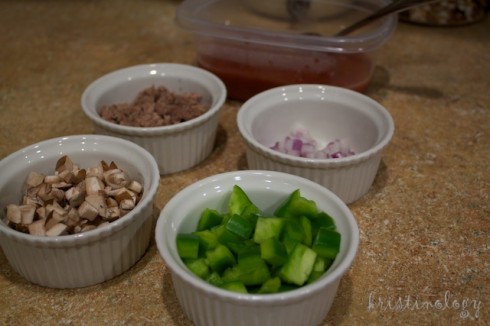
Toppings

We also like to add Sargento four cheese Mexican blend on top of all the other toppings. Then it’s back in the oven, under the broiler just enough to melt the cheese.
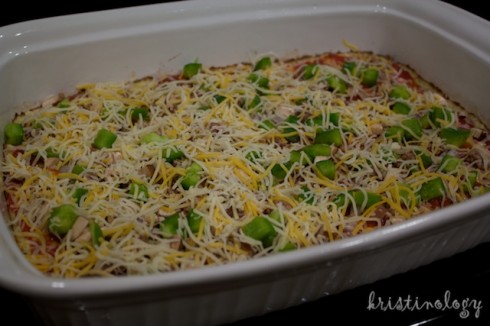
Toppings added

Delish!

Finished pizza

Here’s the recipe:

1 head of cauliflower, riced and cooked
2 cups shredded mozzarella cheese
2 eggs, beaten
2 tsp dried oregano
1 tsp minced garlic
1 tsp salt
additional toppings and cheese as desired
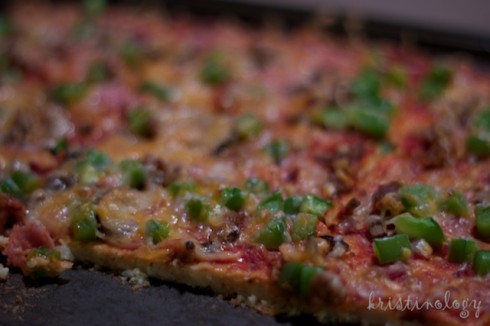
Pizza

This might just be my favorite allergy adapted meal yet. I never would have thought cauliflower could work out so well. Let me know what you think. Enjoy!
Gluten-Free Peanut Butter Cookies

These days not much makes me happier than finding an allergy friendly way to make an old favorite treat. A friend of mine discovered this recipe in looking for cookies to make that were Kristin-safe. They’ve quickly become a new favorite, I could eat the whole batch by myself no problem. I’ve made them so many times in the last couple months since I’ve had the recipe. I’ve been bringing them everywhere.

I’m not always very good at baking. I do better in the kitchen when I can make it up as I go along and not worry about exact measurements. However, these cookies are so easy that even I can make them.

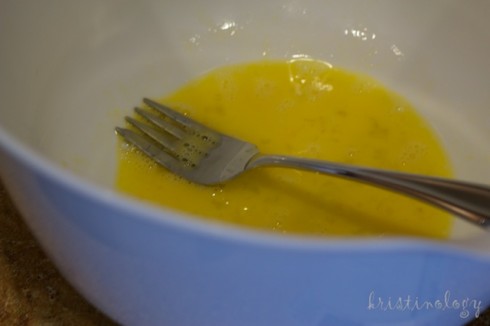
Start by beating one egg in a mixing bowl.

Beaten egg

Add 1/4 cup of white sugar and 1/2 cup brown sugar, and mix.

Sugar

Then add to that 1 cup of peanut butter. I like to use Skippy natural because it’s made with only peanuts, palm oil instead of vegetable oil (soy-free), sugar, and salt.

Peanut butter

Form cookie dough into balls and drop onto a cookie sheet.

Dough balls

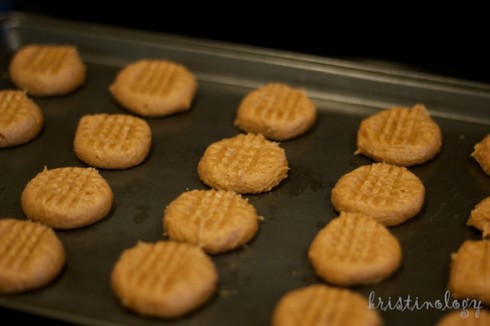
I like to press them down with a fork to flatten them, then turn the fork and press again to make a criss cross pattern. They taste more peanut-buttery that way!

Fork design

Then bake in a 350 oven for about 8 minutes. Maybe it’s my cookie sheet, but mine take more like 12 minutes to get a little crispy on the outside and stay soft in the center.

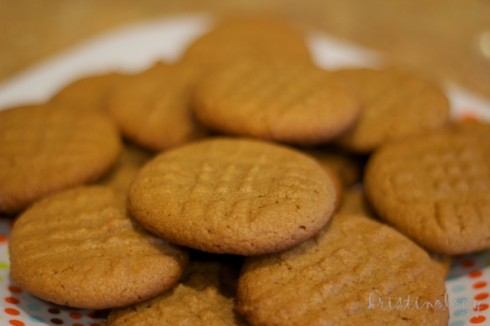
Finished cookies

Yum… these are so delicious!

1 cup peanut butter
1/4 cup white sugar
1/2 cup brown sugar
1 egg

Enjoy!

Allergy Free Holiday Recipes: Cabbage Rolls

Cabbage rolls is another favorite recipe that I have grown up having. It’s typically a part of our Christmas Eve and/or New Year’s Day meals. The original recipe came from Canadian Living magazine, but as you will see we didn’t follow the recipe too closely. The best part is that these can be made ahead of time to avoid having to cook everything on the actual holiday. We made these up yesterday to put in the freezer until we are ready to bake them fresh for Christmas Eve.

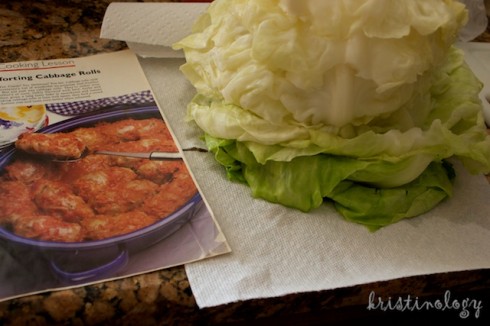
Start by boiling a head of cabbage just long enough until the leaves tear off without breaking too much. We took the first half of the leaves off and had to boil a little longer to get the inside leaves off.

Cabbage

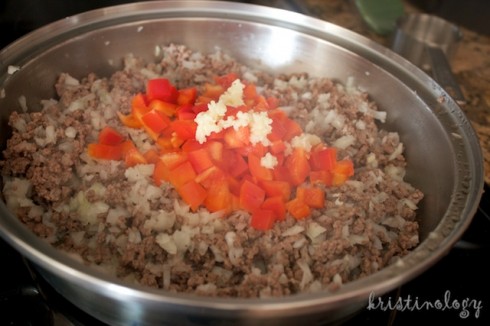
Once beef is cooked add chopped onions, red pepper, garlic and spices. Keep the mixture over medium heat until veggies are soft.

Peppers and onions

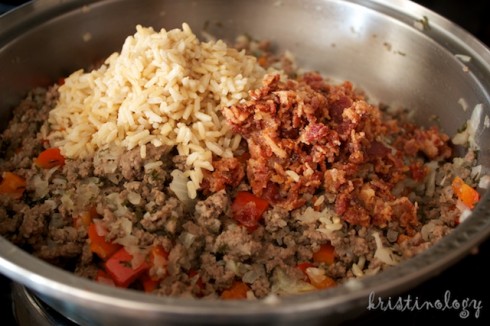
Then mix in cooked rice and cooked, chopped bacon. You could really add whatever you like to make the rolls to your taste.

Bacon and rice

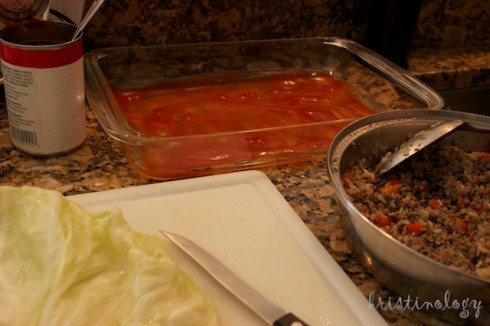
Spread a little tomato sauce on the bottom of your baking dish to keep the rolls from sticking.

Sauce in pan

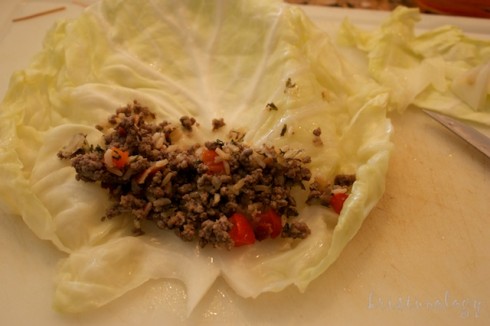
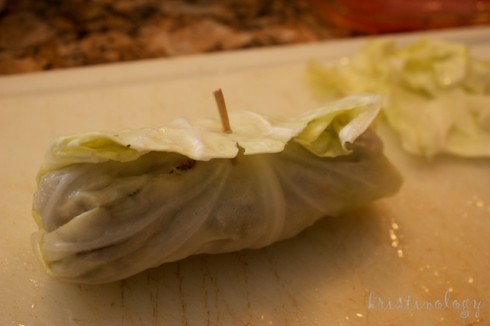
Place a spoonful of your meat mixture near the bottom of the cabbage leaf. Roll leaf, tucking in the sides and compacting filling as much as possible as you roll. I cut out the thickest, stem part of the leaf to make these easier to roll up.

Fill cabbage

Secure each roll with a toothpick at the end of the leaf.

Secure with toothpick

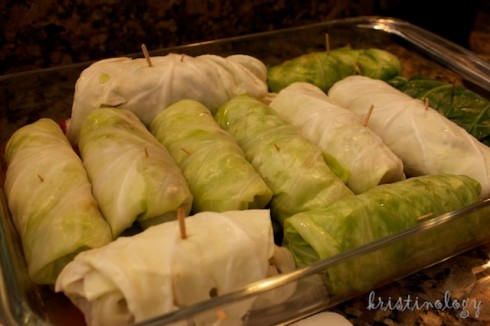
Place all your rolls snugly in your baking dish.

Filled pan

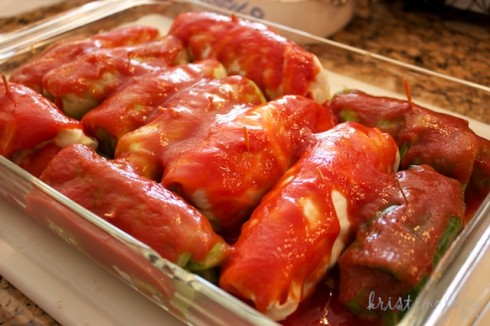
Cover rolls generously with the remaining tomato sauce. This keeps them from drying out during baking and makes them look prettier too.

Covered with sauce

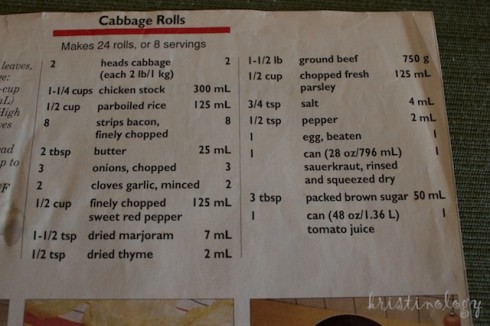
Bake, covered at 350 for about an hour. If freezing first, allow to thaw in fridge before baking. Here’s the recipe we loosely followed, feel free to adapt it however like.

Recipe

Enjoy!