Easter Bunny Cake Tutorial

This Easter bunny cake is a must-have around our house. My mom has made this every year for as long as I can remember. Each year, as we get older, Mom tries to think that she can get away with not making it anymore… but we always find some way to talk her into it. Of course, it has nothing to do with the true meaning of Easter, but it just wouldn’t be fun to celebrate with our bunny cake. Since this is just SO much fun… Mom said I could share her “secret” design so that you can impress your family and friends.

Start by covering a cookie sheet with foil, or finding some other type of serving platter that will be large enough. You will need to have your round cakes baked and completely cooled… best to bake them the day before.
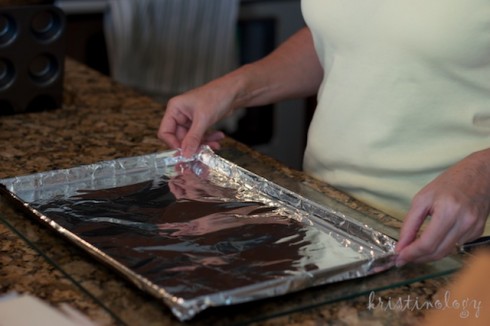
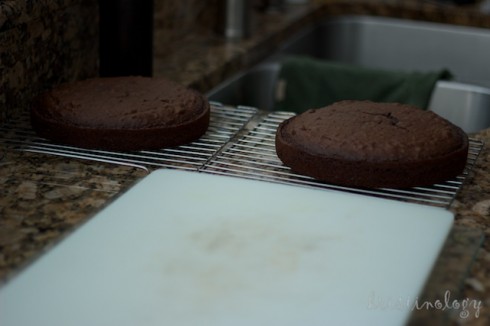
Spread icing over the bottom, flat side of one round cake and stack them on top of each other so that the round sides are facing out… to give your bunny a round body.
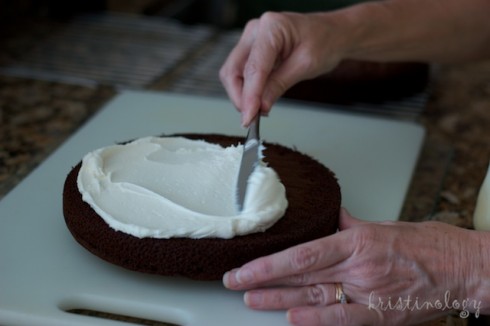
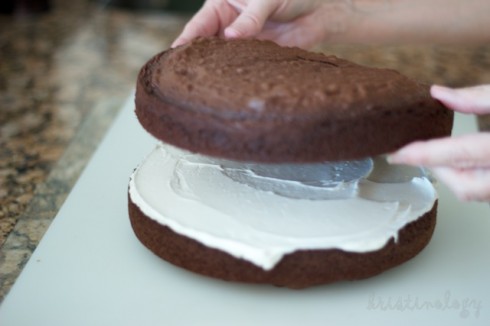
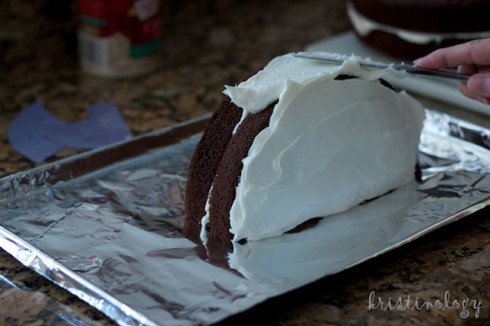
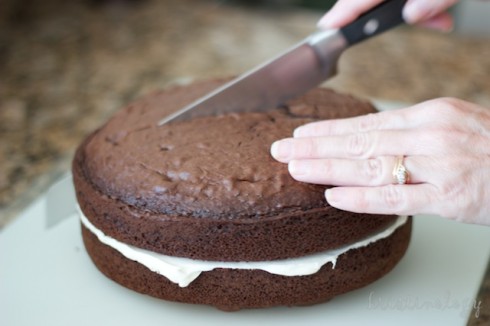
Cut your cakes in half as set one half aside for a moment. Spread icing over the sides of the remaining cake half and position it near the back half of your cookie sheet.
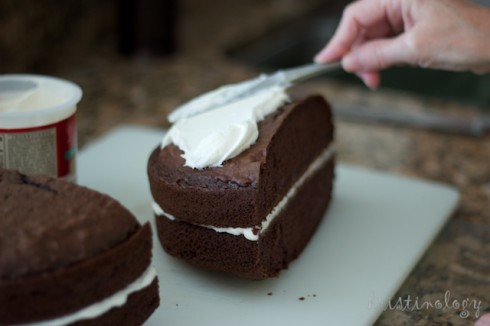
Mom has designed templates to make the perfectly shaped bunny head and legs. Use the second cake half to cut out the shapes for the head and legs. Notice the bottom edge of the head is rounded to better fit against the bunny body.
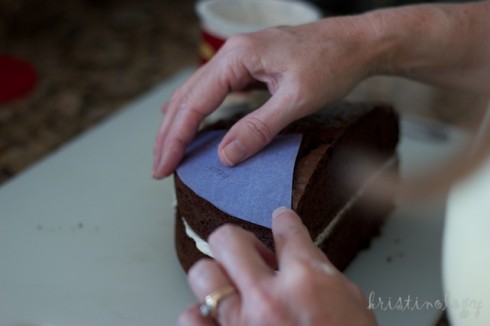
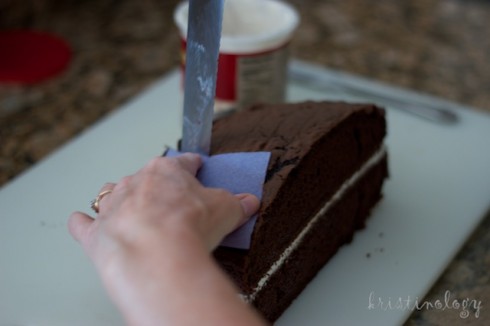
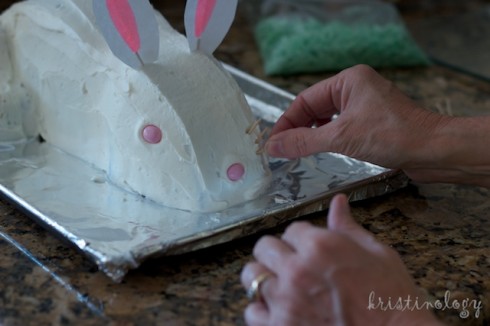
Attach head to the front of the body and generously add icing to cover cake and fill in any gaps.
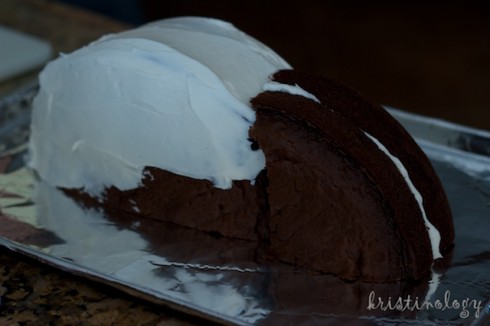
Using more of the second cake half, cut out the shapes for the the bunny legs.
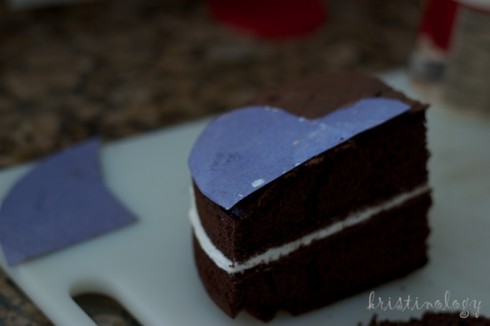
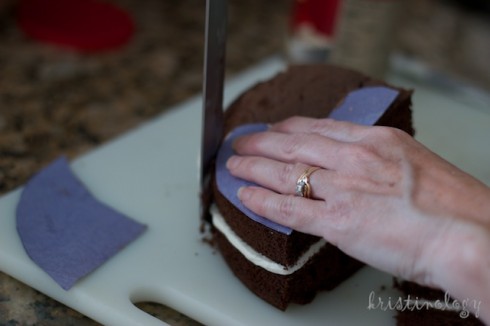
The expert suggests using only a slice of the legs to make for a more proportionate bunny. Bonus: the middle part of the leg shapes provides an excellent cake to icing ratio for a little snack for the sculptor!
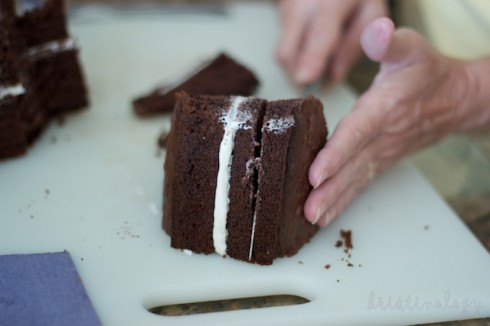
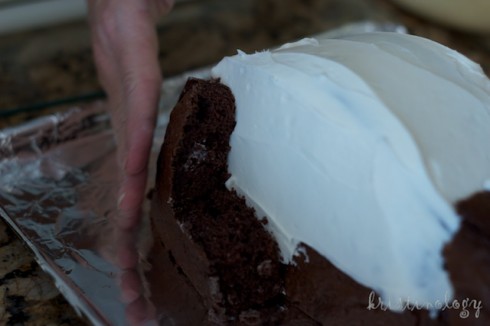
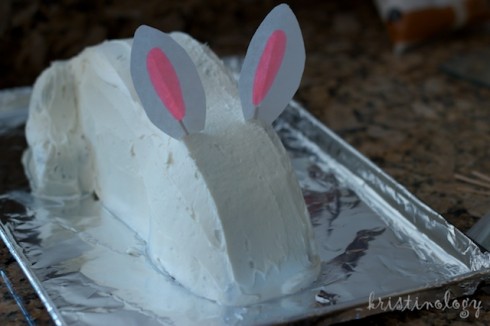
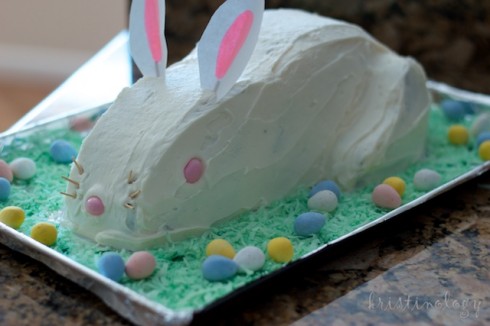
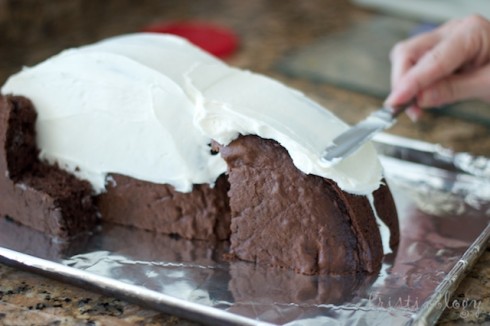
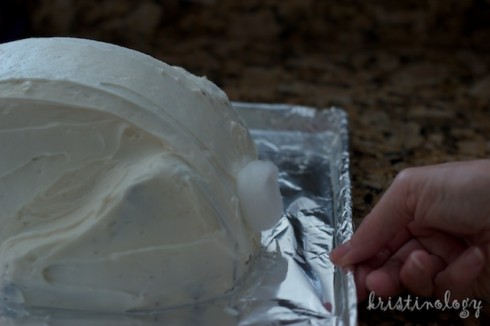
Once the bunny is assembled, finish icing the entire cake. The entire process of this cake may take close to two cans of icing with all the extra gaps there are to fill in. Some years we have added coconut to the bunny body to make it look like fur, but this near we had some people who were not coconut fans.
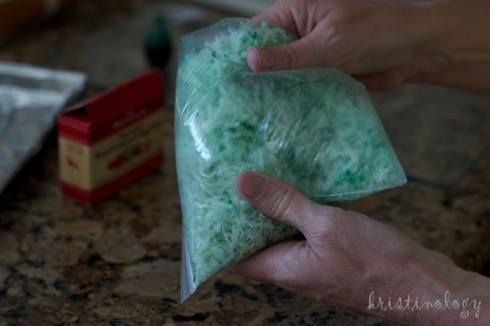
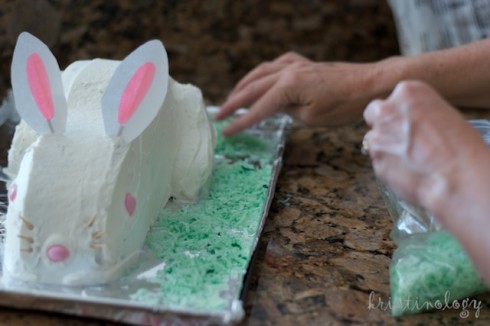
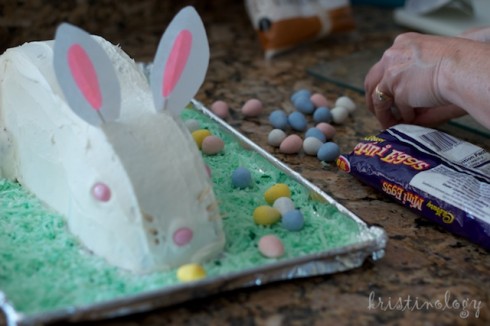
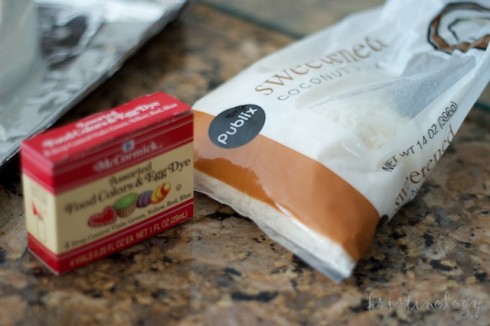
Lastly, add all the fun extras that really make the cake come to life! Use a few drops of green food coloring to turn coconut into grass for the bunny to sit on.
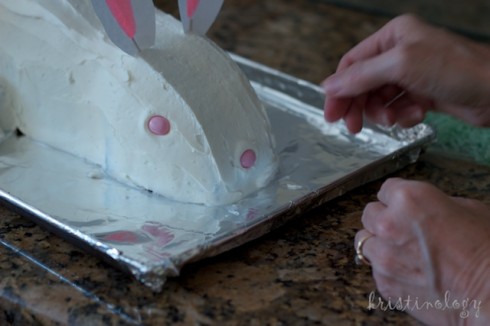
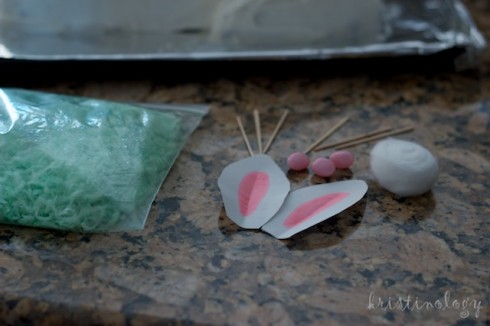
The finishing touches for the bunny include ears made with paper and a pink marker taped to tooth picks, extra tooth picks for wiskers, pink jelly beans for nose and eyes and a cotton ball tail. Add extra easter candy as desired for decoration.
Fun, fun, fun! And almost a completely edible craft for kids of every age. I’d love to see a picture of your bunny cake when you decide to make this!
Namaste Foods: Say Cheez Pasta Meal

Macaroni and cheese is a no-brainer comfort food. It’s a quick, last minute meal that you never really get tired of having. As a kid the box macaroni and cheese was a meal we made ourselves for lunch at least once a week during summers. Homemade, “real” macaroni and cheese is a recipe that has always been one of my favorites.

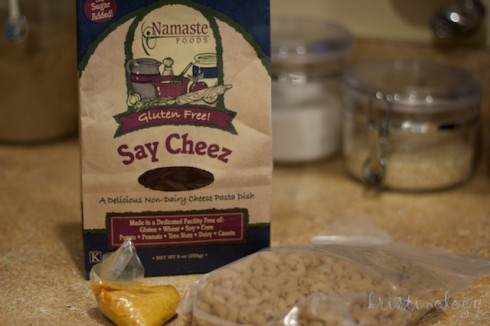
I was pretty excited to find Namaste Foods’ allergy-friendly version of a boxed macaroni and cheese mixture. It’s nice to keep something like that in the pantry for nights when I’m too tired to make a whole dinner. I was pleased with the price of this meal, sometimes the gluten-free meals are pretty expensive. It was super easy to make. Just boil noodles and add sauce packet to heating oil and water… mix together.

Namaste pasta package

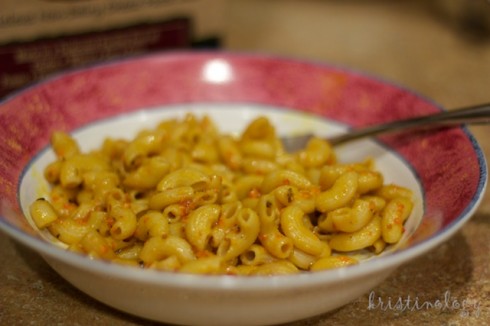
I was very impressed with the taste and texture of the rice pasta in the Say Cheez Meal. We both thought it was better than any other gluten-free pasta we have tried. The taste of the sauce was good, but really didn’t taste much like macaroni and cheese. I can’t really blame them for trying to make a cheese sauce without the use of any dairy ingredients. We both agreed that we’d like it better if we thought of it as a pasta dish rather than macaroni and cheese.

Namaste finished pasta

I’d definitely buy it again to keep for an easy meal… I just wont make it when I’m craving macaroni and cheese. Have you tried this pasta? What did you think about it?

Cauliflower Pizza Crust

You may have seen my previous link to this cauliflower pizza crust in the past. If you haven’t yet, you must try this. It’s so easy, so yummy, and amazingly bread-like. You wont believe it’s not bread!

We loved this recipe the very first time I made it. However, after some testing I believe it’s now even better. I didn’t change too much from the original, mostly just doubled the recipe to make enough to feed my pizza-loving husband. It’s Jesse approved for sure!

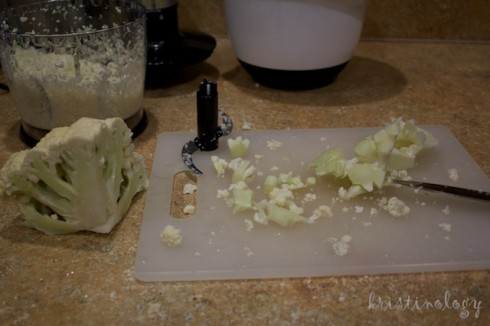
Start by roughly chopping an entire head of cauliflower. I used a little bit of the stems, but mostly just the florets.

Chopped cauliflower

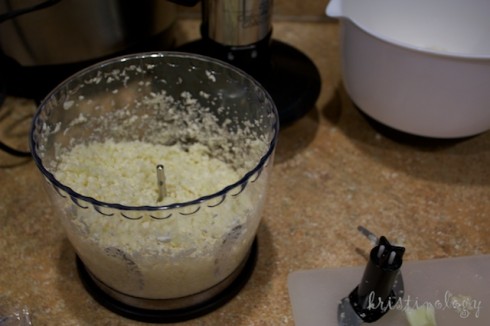
Toss the cauliflower pieces into a food processor and pulse until it looks like grain. I have to do mine in about three batches because the whole head of cauliflower doesn’t fit all at once. Cover and cook cauliflower (without adding extra water) in the microwave for 6 to 8 minutes, until tender.

Riced cauliflower

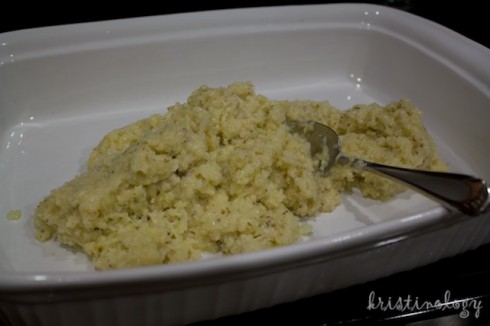
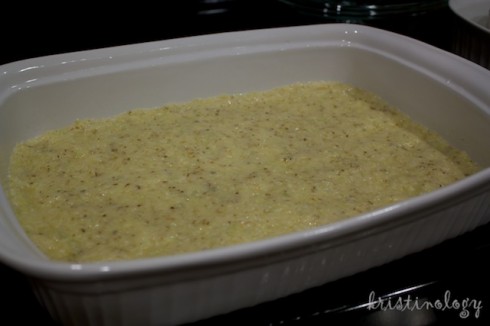
Then mix cooked the cauliflower with two beaten eggs, two cups of shredded mozzarella cheese, and spices. Then the cauliflower “dough” is ready to be transferred to a greased cookie sheet. Note: Some of the pictures show a casserole dish, but I’ve since discovered that a cookie sheet makes a crispier crust.

Cauliflower dough

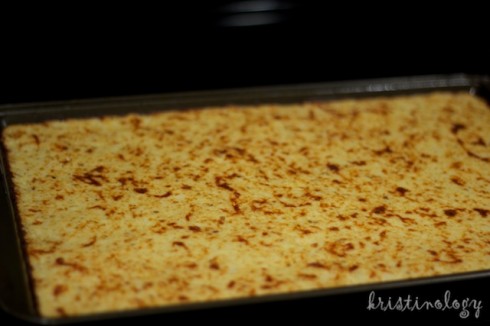
Spread the cauliflower mixture evenly and bake at 450 for 15 minutes.

Ready to bake

After the crust is baked, you can add any toppings you choose.

Revised baking

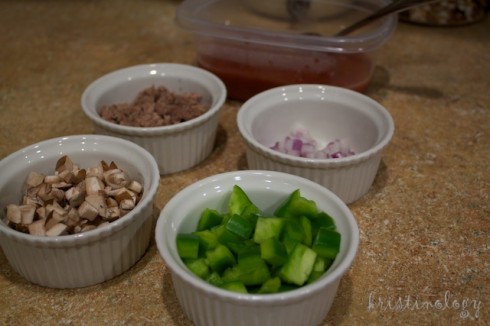
Our favorite combination has been Muir Glen pizza sauce, ground beef (cooked), red onion, mushrooms, and green pepper. I’ve found it’s best to have the toppings prepared as my first step in the recipe.

Toppings

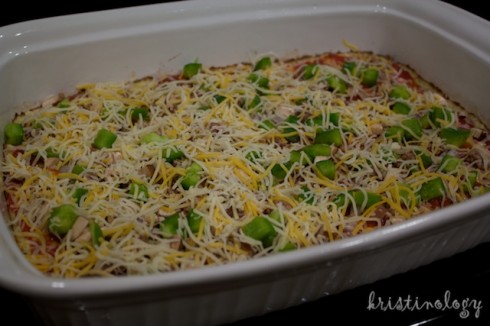
We also like to add Sargento four cheese Mexican blend on top of all the other toppings. Then it’s back in the oven, under the broiler just enough to melt the cheese.

Toppings added

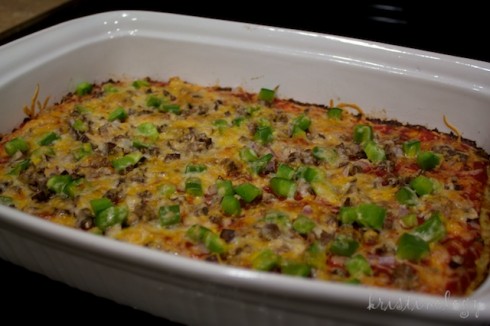
Delish!

Finished pizza

Here’s the recipe:

1 head of cauliflower, riced and cooked
2 cups shredded mozzarella cheese
2 eggs, beaten
2 tsp dried oregano
1 tsp minced garlic
1 tsp salt
additional toppings and cheese as desired

Pizza

This might just be my favorite allergy adapted meal yet. I never would have thought cauliflower could work out so well. Let me know what you think. Enjoy!