Enjoy Life Foods: Decadent Bars

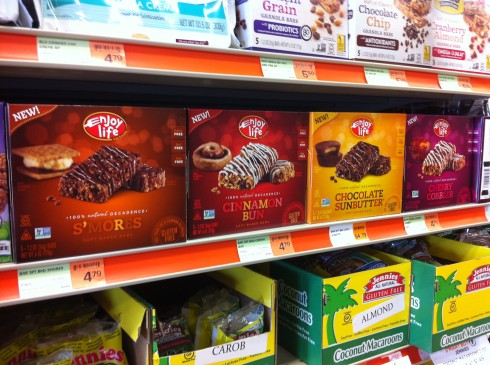
Enjoy Life Foods has added another delicious snack to their product line. If you haven’t yet tried their decadent soft baked bars, you must! Enjoy Life sent me a full sample of all the flavors of the decadent bars. These really satisfy a craving when you “need” some chocolate, or anytime you need a snack.

2013-07-17 12.52.11

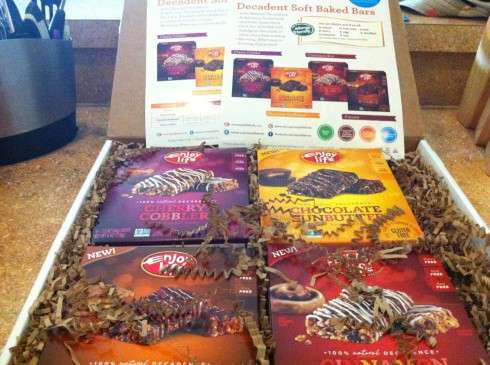
As always, I know that I can trust the Enjoy Life brand to find recipes that will be free from all the most common allergens. I was really curious to read the ingredients on these bars when I saw the icing drizzled over each bar, but sure enough they were still allergy safe.

2013-07-19 10.09.46

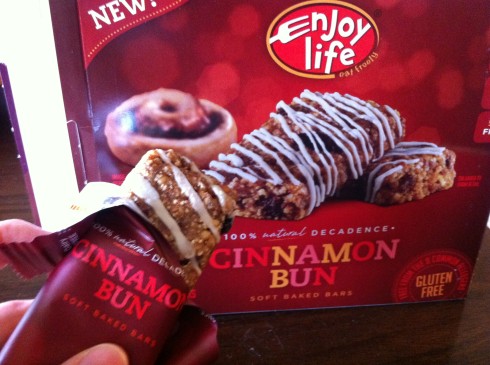
The first flavor I couldn’t wait to try was cinnamon bun… and it did not disappoint. After trying all the flavors this one was still my favorite. It really does taste like a cinnamon bun. The best addition to this recipe is the orange peel flavor, it just makes it perfect.

2013-09-28 14.34.31

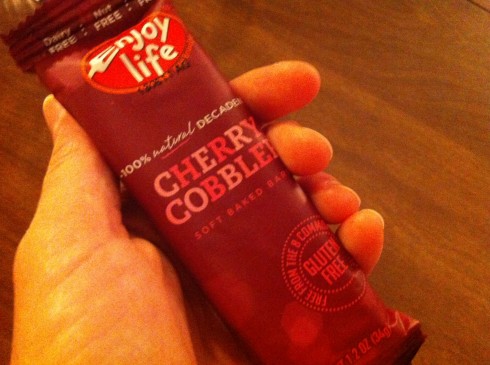
The next one I had to try was the cherry cobbler. I have to say, this one didn’t appeal to me all that much. It’s still tasty, but it wouldn’t be my first choice. There was just something about the cherry that didn’t quite make it for me.

2013-10-05 20.23.09

The s’mores flavor definitely did appeal to me. It’s super chocolatey! This one makes a great treat. It’s the perfect amount of chocolate.

2013-10-07 20.53.15

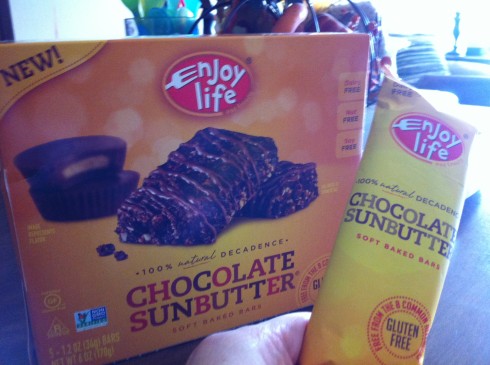
Lastly, the chocolate sunbutter is my second favorite flavor. This one is tastes somewhere between fudge and a brownie. It almost reminds me of eating a peanut butter cup, which used to be my favorite candy before food allergies.

2013-10-08 14.04.25

I would recommend giving any (or ALL) of the decadent bars a try. I’ve brought these along with me several times now when I know we’ll be somewhere that dessert will be served. I feel like I can enjoy my own dessert along with everyone else. Pick up a box to try and let me know what you think!

Easter Bunny Cake Tutorial

This Easter bunny cake is a must-have around our house. My mom has made this every year for as long as I can remember. Each year, as we get older, Mom tries to think that she can get away with not making it anymore… but we always find some way to talk her into it. Of course, it has nothing to do with the true meaning of Easter, but it just wouldn’t be fun to celebrate with our bunny cake. Since this is just SO much fun… Mom said I could share her “secret” design so that you can impress your family and friends.

Start by covering a cookie sheet with foil, or finding some other type of serving platter that will be large enough. You will need to have your round cakes baked and completely cooled… best to bake them the day before.

Spread icing over the bottom, flat side of one round cake and stack them on top of each other so that the round sides are facing out… to give your bunny a round body.

Cut your cakes in half as set one half aside for a moment. Spread icing over the sides of the remaining cake half and position it near the back half of your cookie sheet.

Mom has designed templates to make the perfectly shaped bunny head and legs. Use the second cake half to cut out the shapes for the head and legs. Notice the bottom edge of the head is rounded to better fit against the bunny body.

Attach head to the front of the body and generously add icing to cover cake and fill in any gaps.

Using more of the second cake half, cut out the shapes for the the bunny legs.

The expert suggests using only a slice of the legs to make for a more proportionate bunny. Bonus: the middle part of the leg shapes provides an excellent cake to icing ratio for a little snack for the sculptor!

Once the bunny is assembled, finish icing the entire cake. The entire process of this cake may take close to two cans of icing with all the extra gaps there are to fill in. Some years we have added coconut to the bunny body to make it look like fur, but this near we had some people who were not coconut fans.

Lastly, add all the fun extras that really make the cake come to life! Use a few drops of green food coloring to turn coconut into grass for the bunny to sit on.

The finishing touches for the bunny include ears made with paper and a pink marker taped to tooth picks, extra tooth picks for wiskers, pink jelly beans for nose and eyes and a cotton ball tail. Add extra easter candy as desired for decoration.

Fun, fun, fun! And almost a completely edible craft for kids of every age. I’d love to see a picture of your bunny cake when you decide to make this!