Allergy Free Holiday Recipes: Stuffing

If I had to choose one holiday dish as my favorite, I think I would pick stuffing. It’s always been one of the best parts of the holiday meal. Of course, it’s all bread… meaning it was no longer on my list of foods I could enjoy. Then I came across a recipe for allergy-free and gluten-free stuffing on Enjoy Life Foods’ recipe page. I couldn’t wait to try it out at our Thanksgiving dinner.

It was pretty simple to make and overall a very tasty dish. However, even though it tasted really good, it didn’t really compare to real stuffing. I still think it would be worth making again when I want stuffing, I just have to think of it as its own side dish instead of a stuffing replacement. I did like how my dinner plate looked like a whole Thanksgiving dinner instead of having to skip out on all the items containing my allergens. This stuffing was just what I needed to complete my meal.
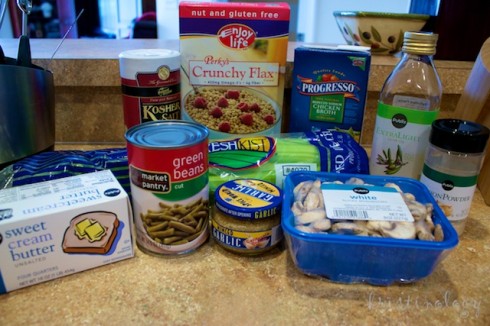
Ingredients

I started my soaking the flax cereal in warm chicken broth. After about fifteen minutes it had puffed up from all of the moisture.
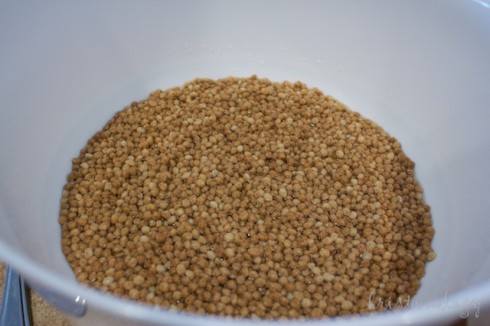
Soaking cereal

After melting butter over medium heat, I sauteed onions and celery together until they were translucent.
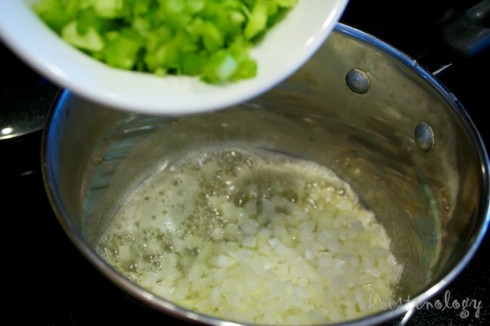
Cooking onions

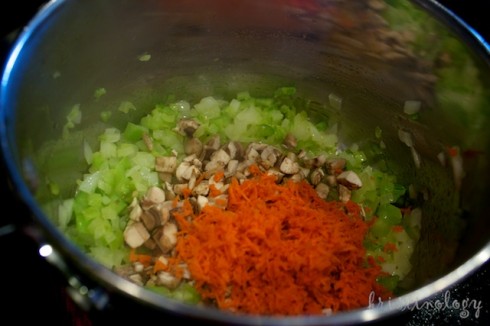
Then I added my grated carrots and chopped mushrooms.
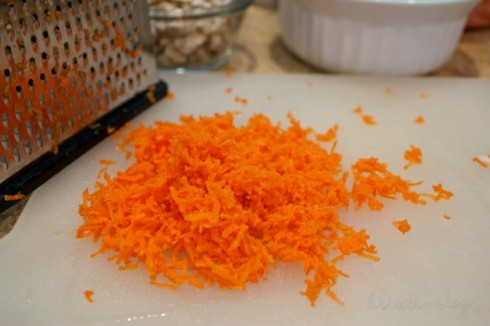
Grated carrotsAdding veggies

After all the veggies were nicely cooked I added them along with my spices to the soaked cereal, and mixed well. Then I transferred the mixture to a casserole dish for baking.
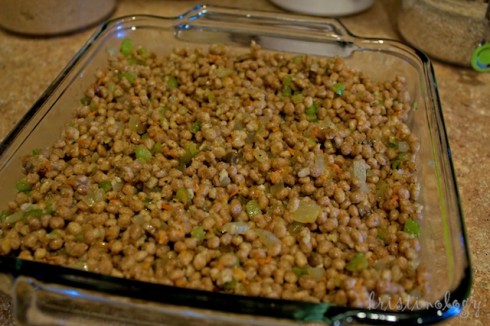
Ready to bake

Note… I used a lot more spices than this recipe called for as I thought it might be a little plain. I think it definitely needed it. My mix was the mix my mom would use on her normal stuffing and included poultry seasoning, thyme, sage, garlic pepper, salt… I’m not even sure what else she mixed up for me.

My family enjoyed this dish… let me know what you think of it.
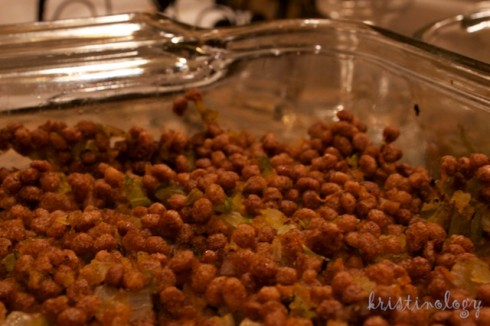
Finished stuffing

Enjoy!

Allergy Free Holiday Recipes: Green Bean Casserole

Can you believe that green bean casserole is not a dish that I grew up eating? It wasn’t until we moved to Florida and were invited to a friends’ house for Thanksgiving that I was first introduced to its yummy-ness. It’s been one of my favorites since then.

I came across an allergy-free and gluten-free version of the recipe on Enjoy Life Foods’ recipe page and could hardly wait until Thanksgiving to give it a try. I was very pleased with the result. It didn’t taste too much like green bean casserole I’m used to, but it was very good. Also, it was a LOT more work… compared to mixing a can of mushroom soup with a can of green beans. Maybe it will be easier when I make it for a second time.

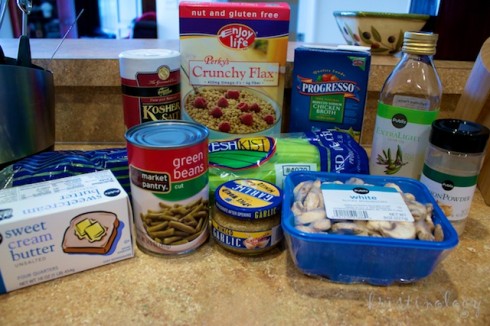
Ingredients

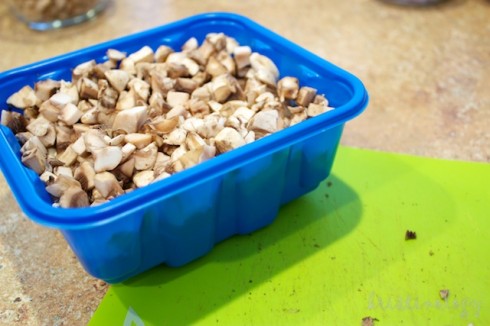
I started by chopping up a small carton of mushrooms. I have to say that I’m not a huge fan of mushrooms… in fact, this is the first time I’ve ever bought any type of mushrooms. Usually I would skip the mushrooms in a recipe, but since it was really a main ingredient this time I thought I would brave them. Since they are so soft, they were super easy to chop up into small pieces. I felt like a professional just chop, chop, chopping so quickly!

Chopped mushrooms

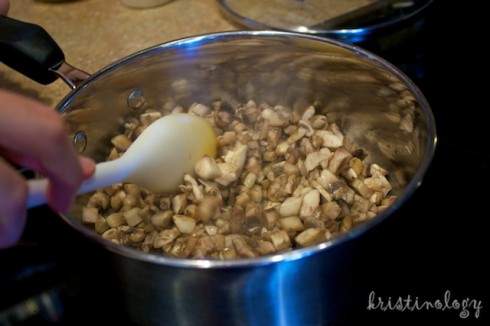
I sauteed the mushrooms in some olive oil until they were softened.

Saute mushrooms

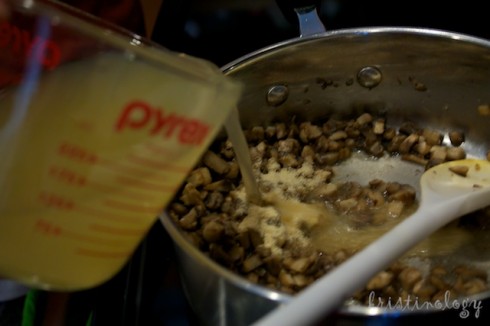
Then I added the spices and the chicken broth. I used arrowroot instead of rice flower to thicken the broth since I already had that on hand.

Add broth

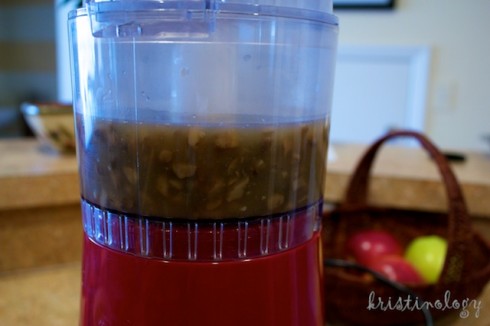
Once the soup had cooked I transferred it to the blender to puree the mushrooms.

Puree mushroom soup

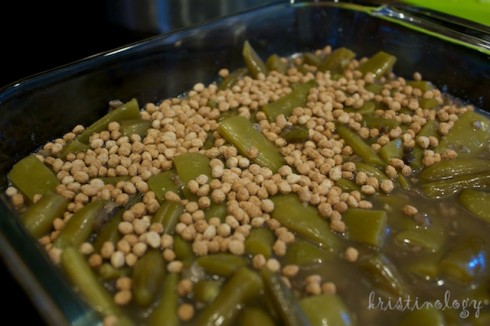
Then soup mixture was mixed with the green beans and poured into a casserole dish. I sprinkled Enjoy Life flax seed cereal on top before baking.

Green bean casserole

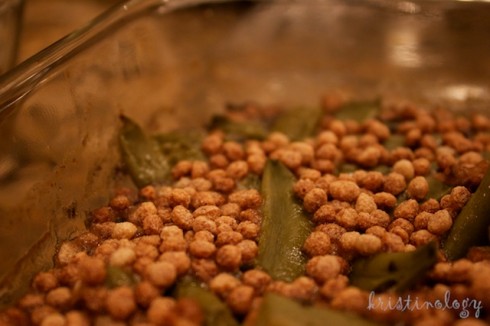
We really liked this recipe. The main difference to the traditional recipe is that the soup was a broth instead of a cream, but it was still a great mix of flavors. And I got to have my casserole back again!

Finished casserole

I hope you enjoy this one!

Allergy Free Holiday Recipes: Perfect Pumpkin Pie

Nothing says holiday quite like homemade pumpkin pie. I decided that I really needed to learn to make pumpkin pie the way my Mom makes it. She mostly follows the recipe on the pumpkin can… with a small, but very important exception. The result is THE best pie!

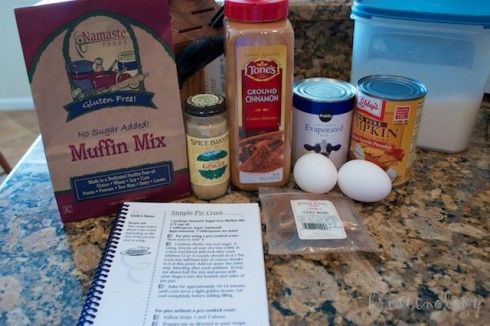
Pie ingredients

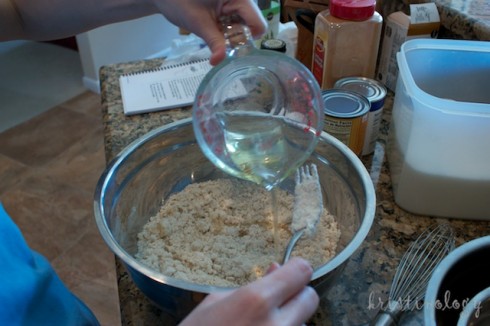
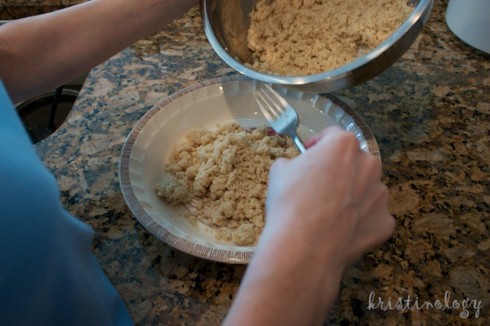
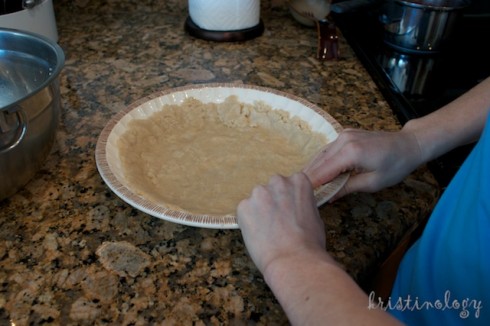
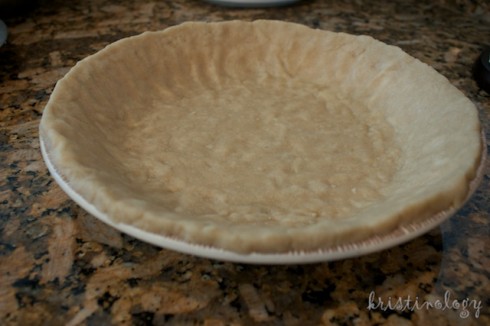
Start by making your pie crust. We used a Namaste mix and recipe so that it would be allergy-safe for me. I was pleased with the result for the most part. I liked the taste and texture, but it was a lot of work to make because it was difficult to form into the pie plate.

Making pie crustPouring crustForming crustFinished crust

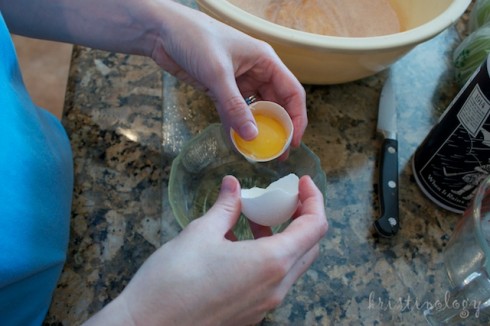
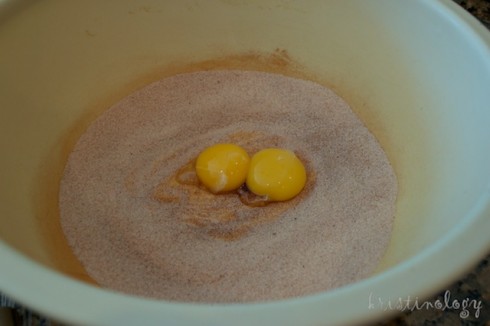
Once the crust is ready, you’re ready to start on the filling. Here’s where the big secret to the perfect pie comes in. When you get to the eggs, we only added the yokes for now, and set the whites aside to add later.

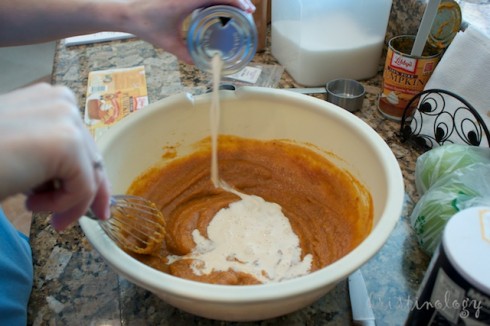
Separating eggsEgg yokesAdding milk

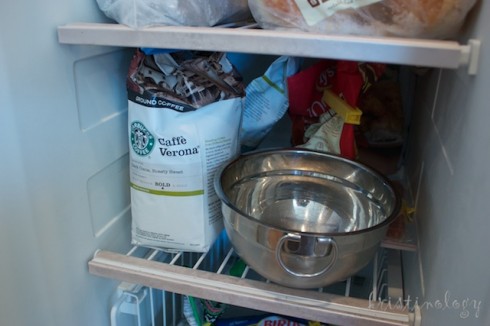
Once you’ve finished following the rest of the recipe, it’s time to deal with the egg whites. We chilled a bowl for a minute or so in the freezer. Mom says it helps the whites to whip up better.

Chill bowl

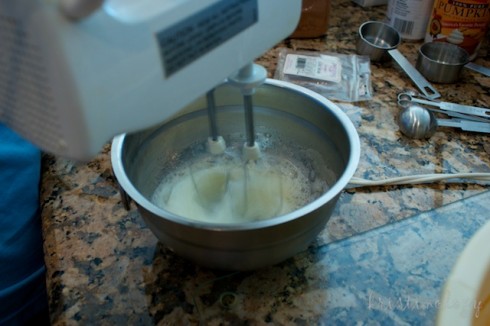
Whip the egg whites with an electric mixer until they stiffen a little. Don’t over do it… you don’t want them to be hard to work with. You still want them to be light and fluffy, but stiff enough to hold their shape a little.

Whip egg whites

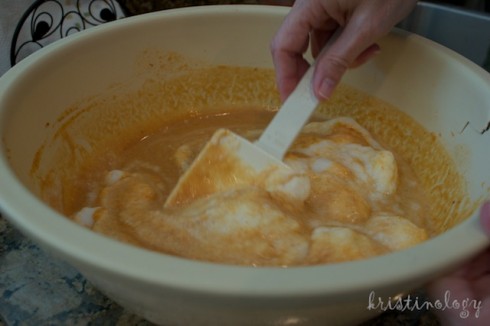
Then add the egg whites to the rest of the filling mixture. Slowly and carefully fold in the whites. The object is to keep all of the tiny air bubbles you mixed into the whites. If you stir too quickly you will undo the extra work you did. The result should be a pie that is extra light and fluffy.

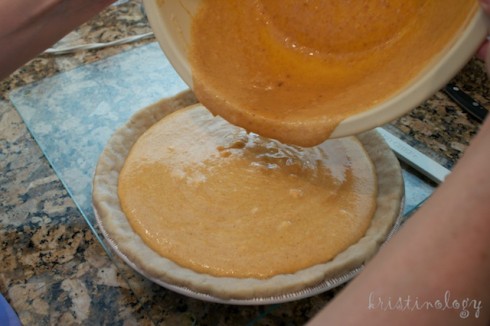
Carefully fold egg whitesReady to bake

Bake the pie according to directions and allow to cool completely before serving.

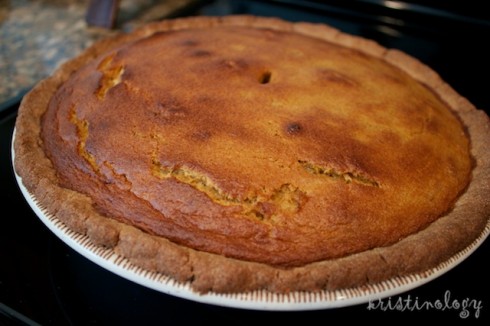
Finished pie

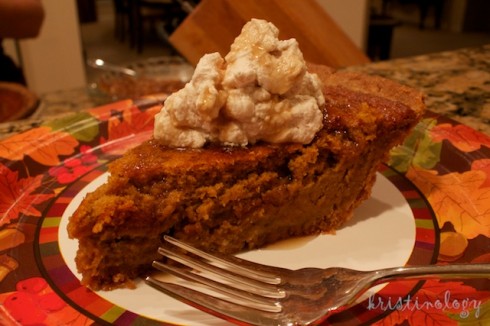
We served ours with homemade cinnamon whipped cream and a drizzle of maple syrup.

Dessert

Delicious! Give this method a try… I know you’ll love it. Enjoy!